This post contains affiliate links, which means we’ll receive a commission if you purchase through our links, at no extra cost to you. Please read our full disclosure for more information.
I’m far from a professional network engineer, but I recently found myself frustrated with constant Wi-Fi issues and a growing number of smart devices. After hearing repeated praise for both Firewalla and Ubiquiti from cybersecurity enthusiasts, I decided to piece together a more secure, more organized home network—complete with a shiny new 12U network rack and a plan for tackling those pesky VLANs.
Why I Decided to Upgrade
Like many people, I started off with a basic cable modem (Netgear CM600) paired with a “gaming” router (the TP-Link AX11000). That served me well for a while—until my home exploded with IoT devices:
- 2.4 GHz congestion: I have five Blink cameras plus their sync module, four Ring cameras, two Ring doorbells, a Ring Chime, two Litter Robots, multiple Roku/Fire Stick devices, and an array of smart outlets and LED strips. You can imagine the chaos!
- Connection troubles: Adding new devices was becoming a pain, and older ones kept dropping off the network.
- Security & monitoring needs: I wanted better visibility into my network traffic and the ability to isolate IoT devices from my main computers.
After plenty of research, Firewalla Gold SE looked like the perfect security-focused router solution, and Ubiquiti APs came highly recommended for stable, enterprise-grade Wi-Fi performance. So I jumped in headfirst.
The Gear in My Setup
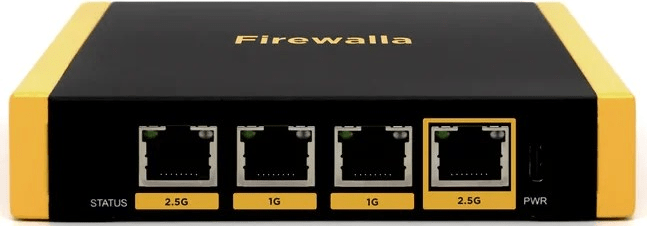
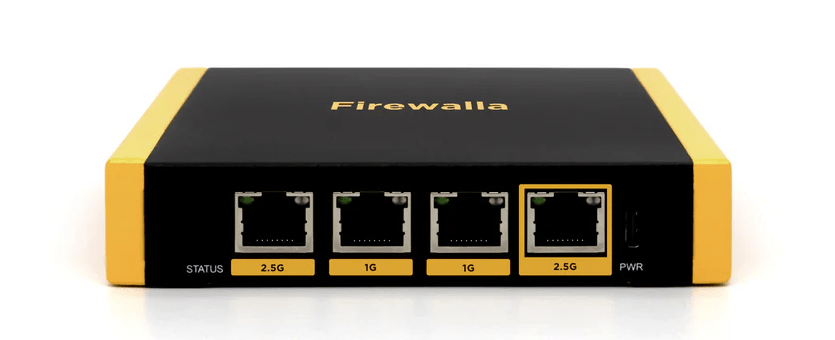
Firewalla Gold SE
- Cost: Around $490 total
- Purpose: A powerful router, firewall, and security appliance all in one. It replaces the router function of my old setup and gives me deep insight into network traffic, plus intrusion detection and parental controls if I want them.
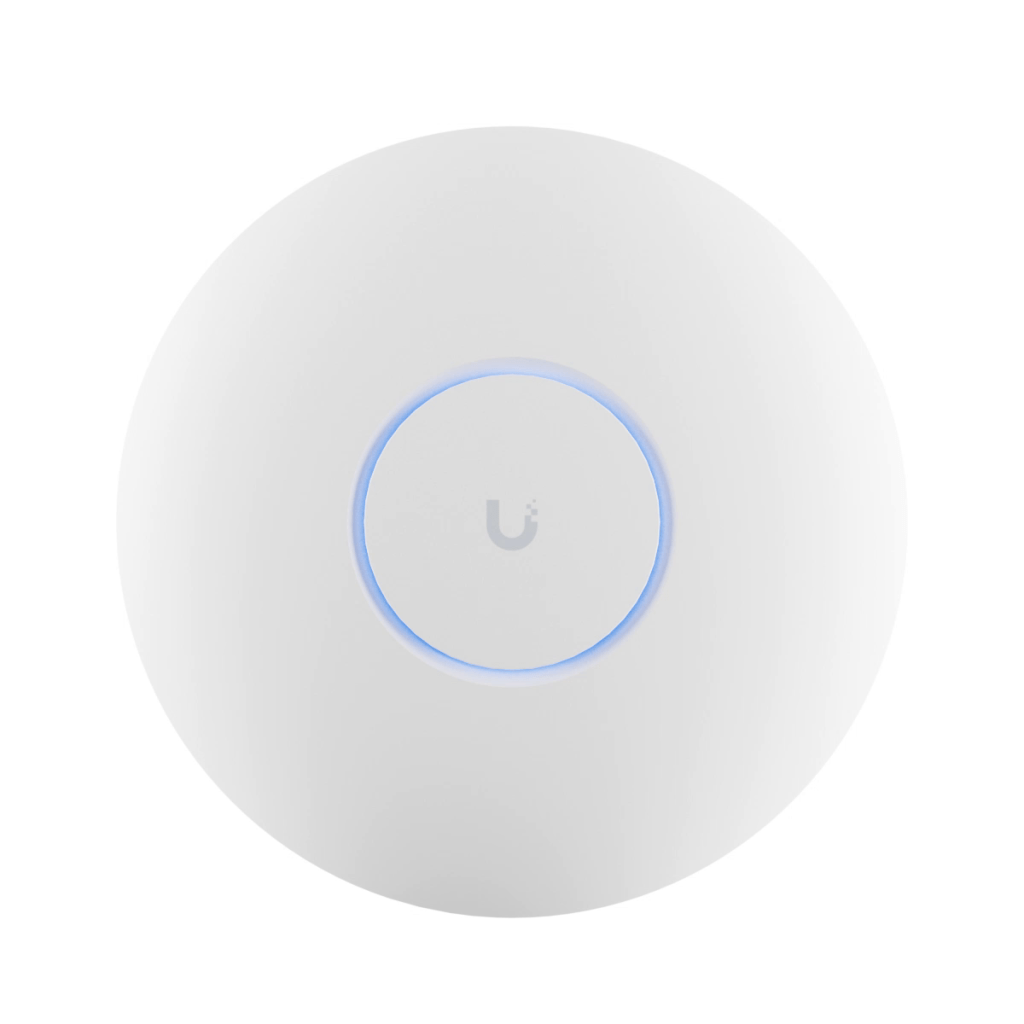
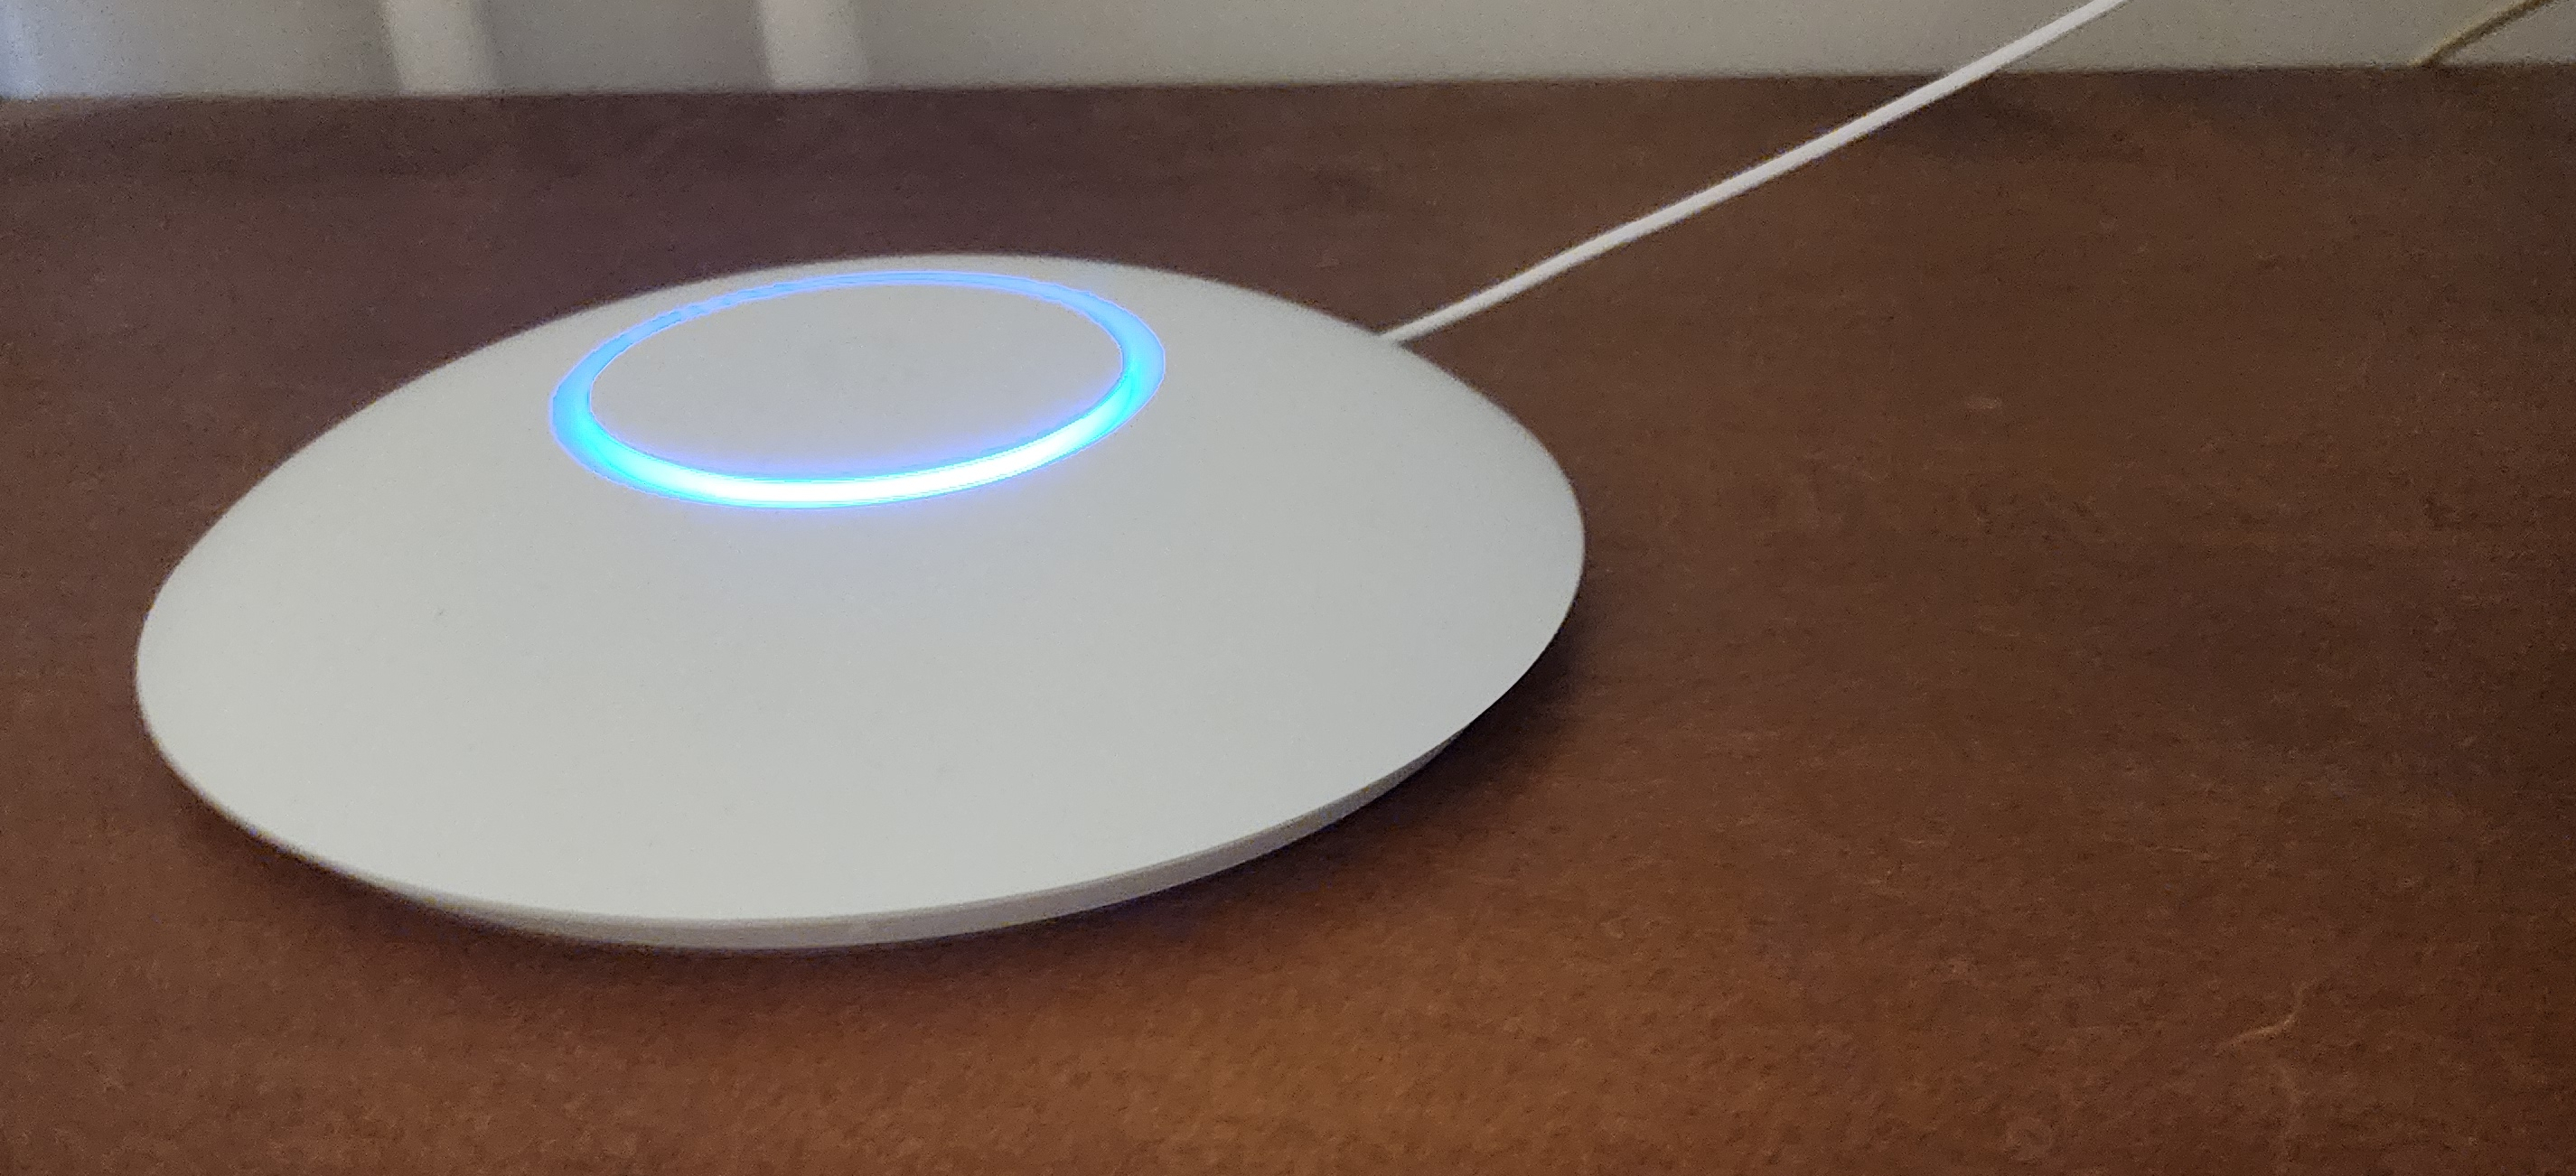
Ubiquiti UniFi AC Pro (UAP-AC-PRO)
- Price: Typically $150, but I found it on sale for \$109
- Why I Chose It: Superb reputation for reliable Wi-Fi, especially with lots of devices (it supports 250+). It’s PoE-powered and covers about 1,500 ft².
- Usage: Perfect for my 2.4 GHz IoT devices so they’re not crowding my main 5 GHz band.
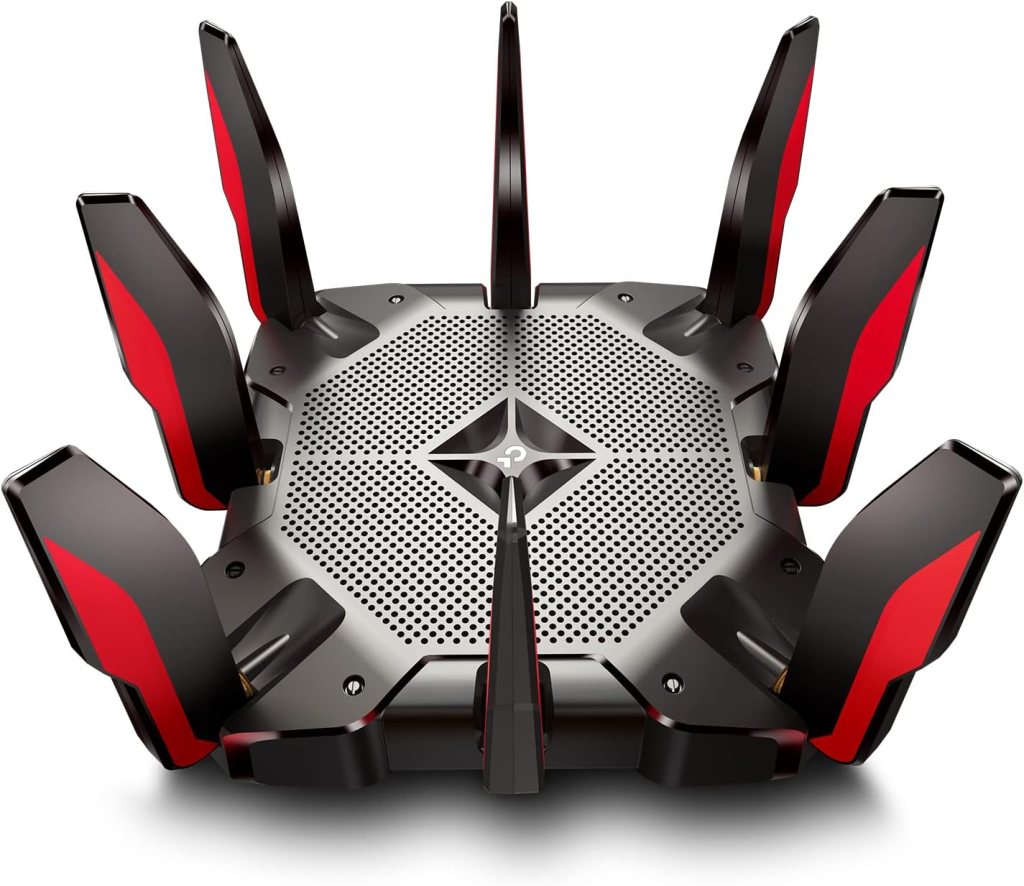
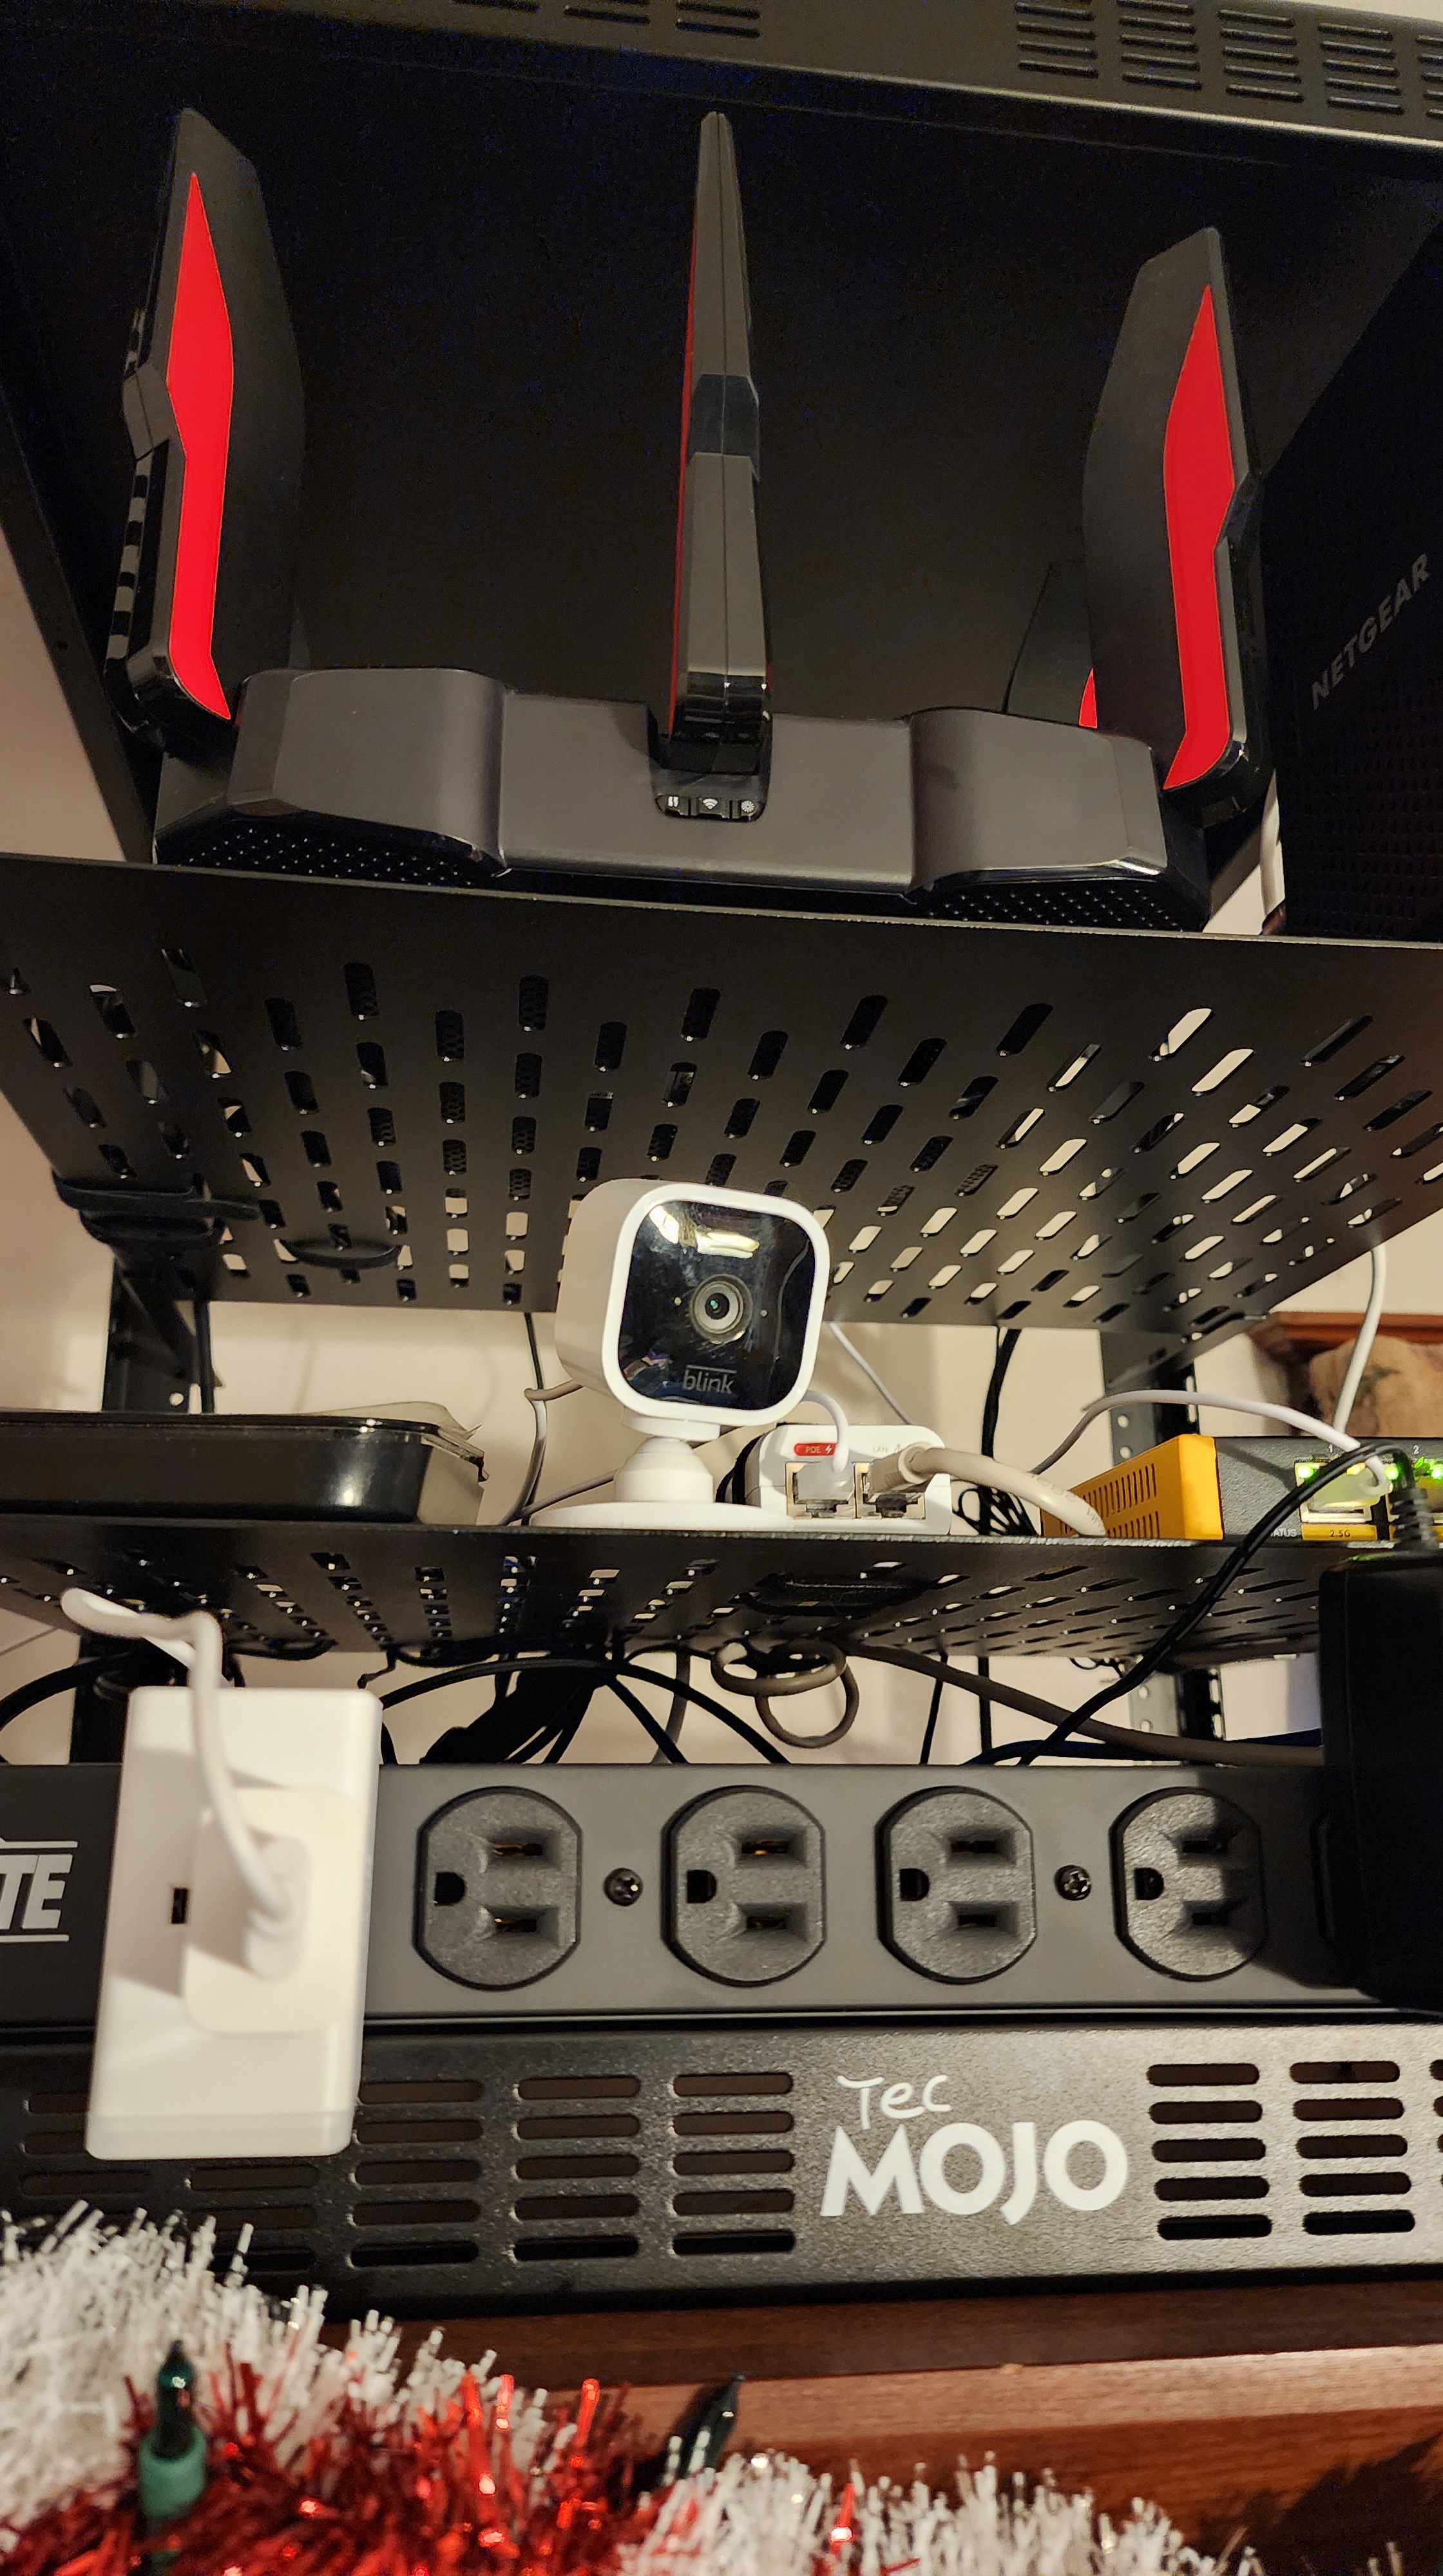
TP-Link AX11000 (Repurposed)
- Originally: My main router.
- Now: A dedicated 5 GHz Access Point for computers, phones, and other high-bandwidth devices.
- If you’re gaming or streaming heavy, the AX11000 still holds up.
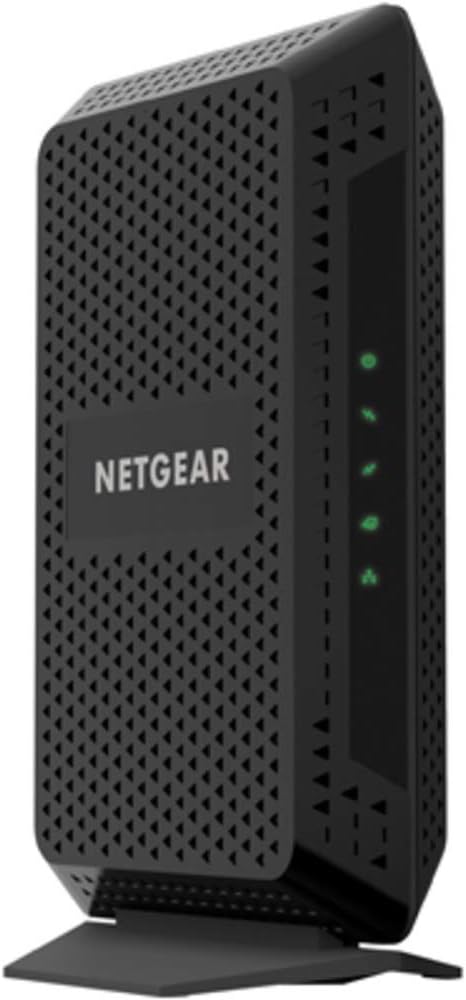
Netgear CM600 (Cable Modem)
- Role: The same as before—providing internet access from my ISP.
- Want a no-frills, reliable modem? Check out the CM600 — it just works.
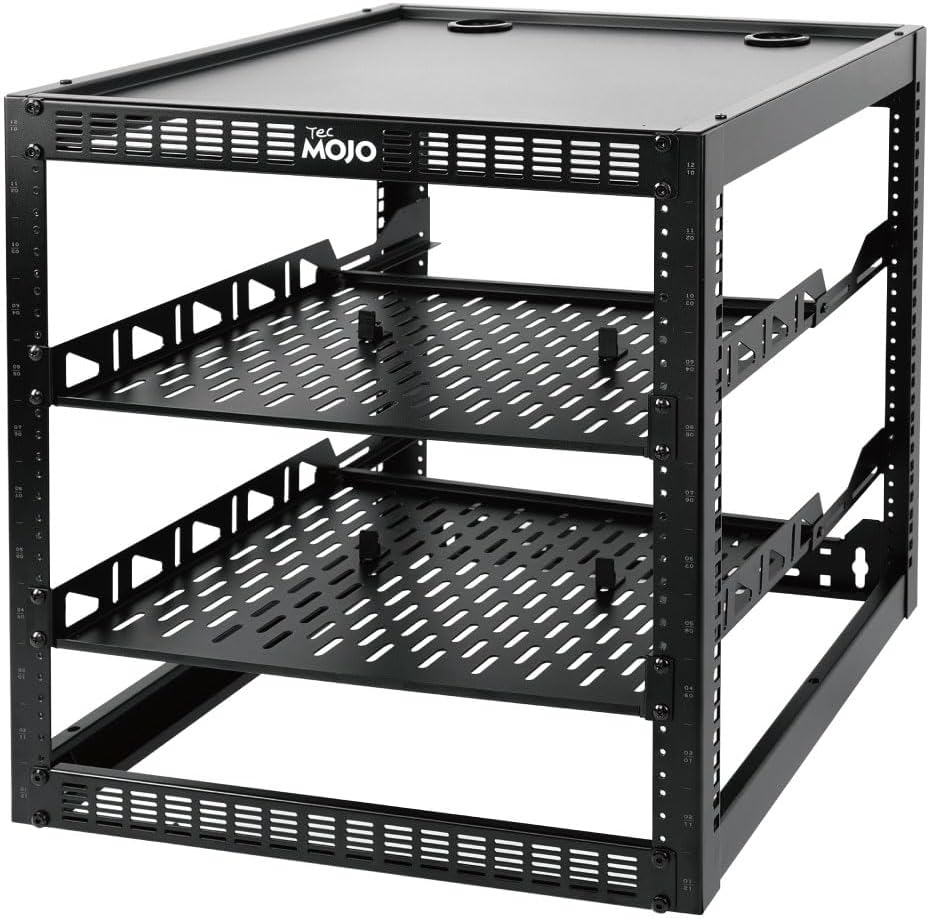
Tecmojo 12U Open-Frame Network Rack
- Cost: About $90
- Why a Rack? My gear used to sprawl on top of a cabinet, with cables everywhere. The rack keeps everything tidy and in one spot.
- Assembly: I found the included guide straightforward. The rack itself is sturdy and high-quality, perfect for my home use.
- Placement: Instead of wall-mounting, I put it right on the cabinet where my gear used to live. There’s just enough space under the ceiling—about half an inch—and even enough room for the Blink module on top.
- Tired of gear chaos? The Tecmojo 12U Open-Frame Network Rack cleaned it all up for under $100.
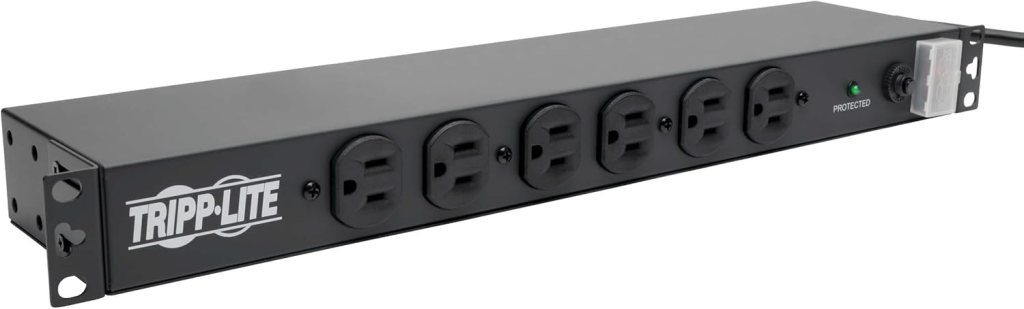
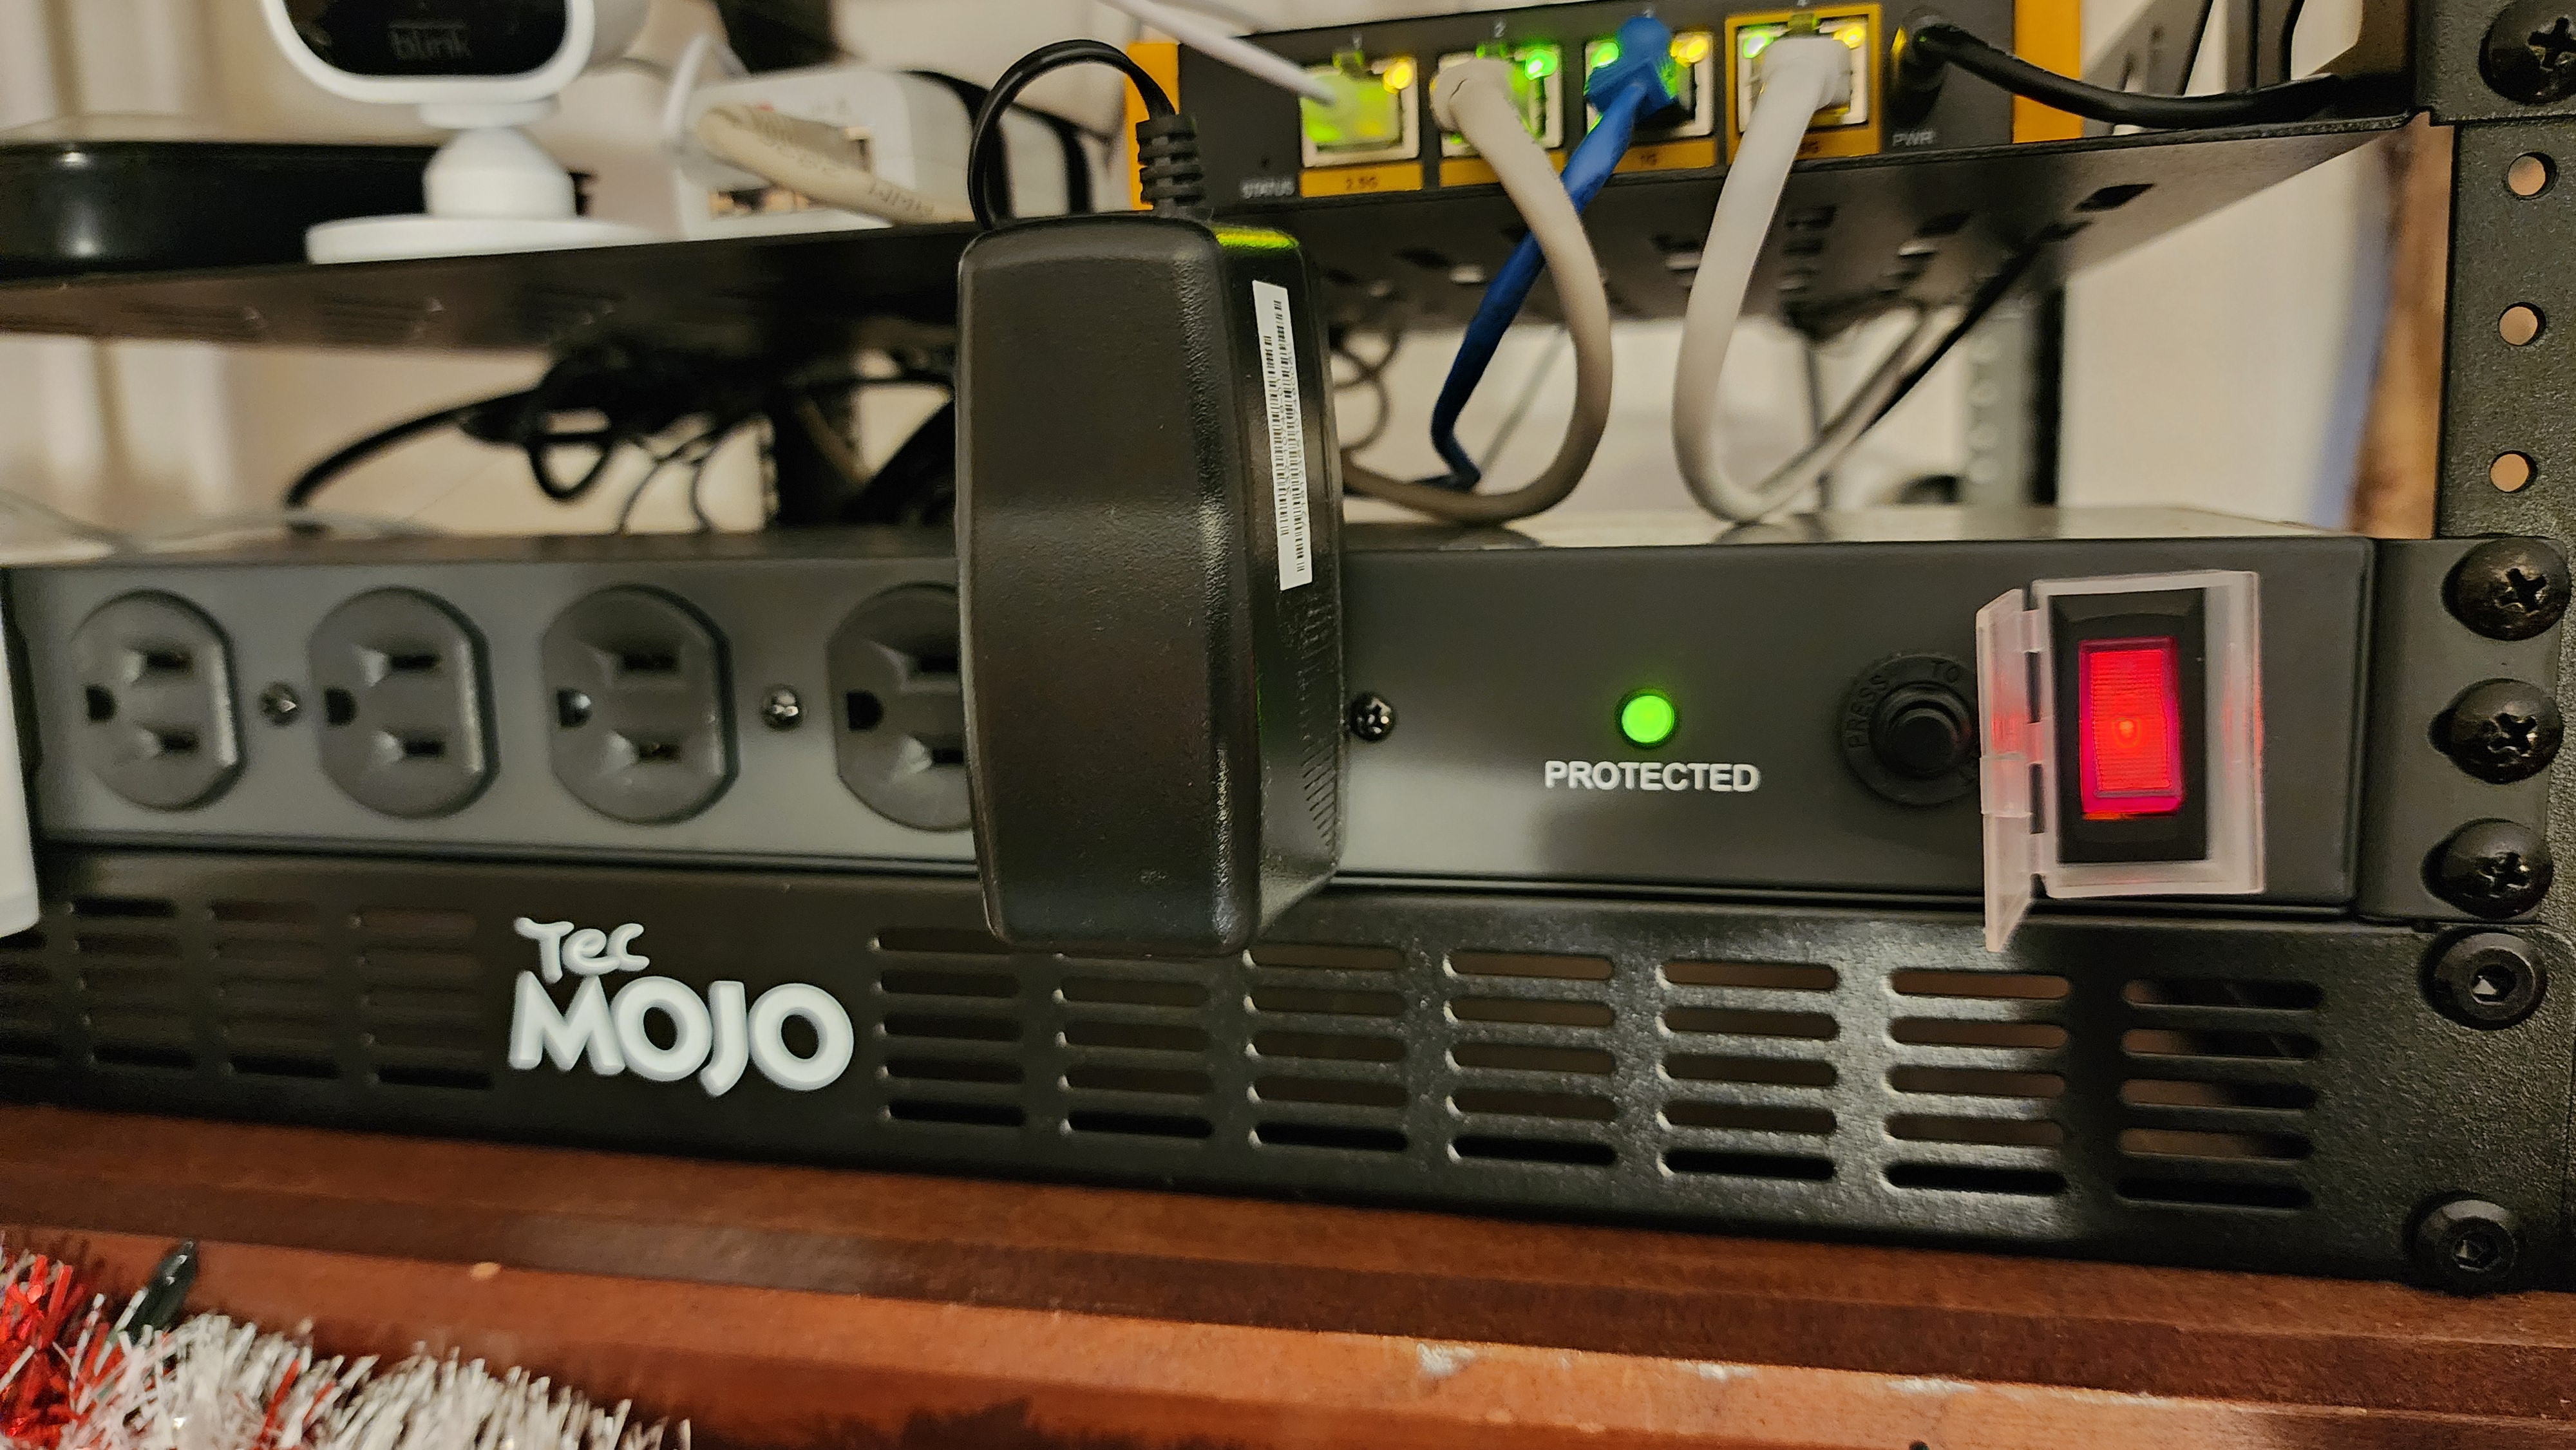
Tripp Lite 14-Outlet Rackmount PDU (Surge Protector)
- Model: Tripp Lite DRS-1215 PDU, about $98
- Why a PDU? With so many devices, I wanted a single power solution contained within the rack. One cord to the wall, outlets neatly arranged in a 1U space, and built-in surge protection.
- Installation: Super quick—just bolt it into the front of the rack, and you’re done. The outlets are spaced perfectly for adapters and cables.
Putting It All Together
Step 1: Building & Placing the 12U Rack
- Unboxing & Assembly: The Tecmojo rack comes with all the mounting hardware, a drilling template, and a decent manual. Even if you’ve never assembled a rack before, it’s straightforward.
- Deciding on Placement: I chose not to mount the rack on the wall. Instead, it sits on top of the cabinet that originally held my modem and router. Conveniently, it fits under the ceiling with a bit of room to spare.
Step 2: Installing the PDU
- One Cord to Rule Them All: With the Tripp Lite rackmount PDU, I only need one power cord running to the wall outlet. All my network gear plugs into the 14 outlets on the unit (6 in front, 8 in back).
- Mounting in 1U Space: I slid it right into the top 1U slot of the rack. Easy, neat, and fully contained.
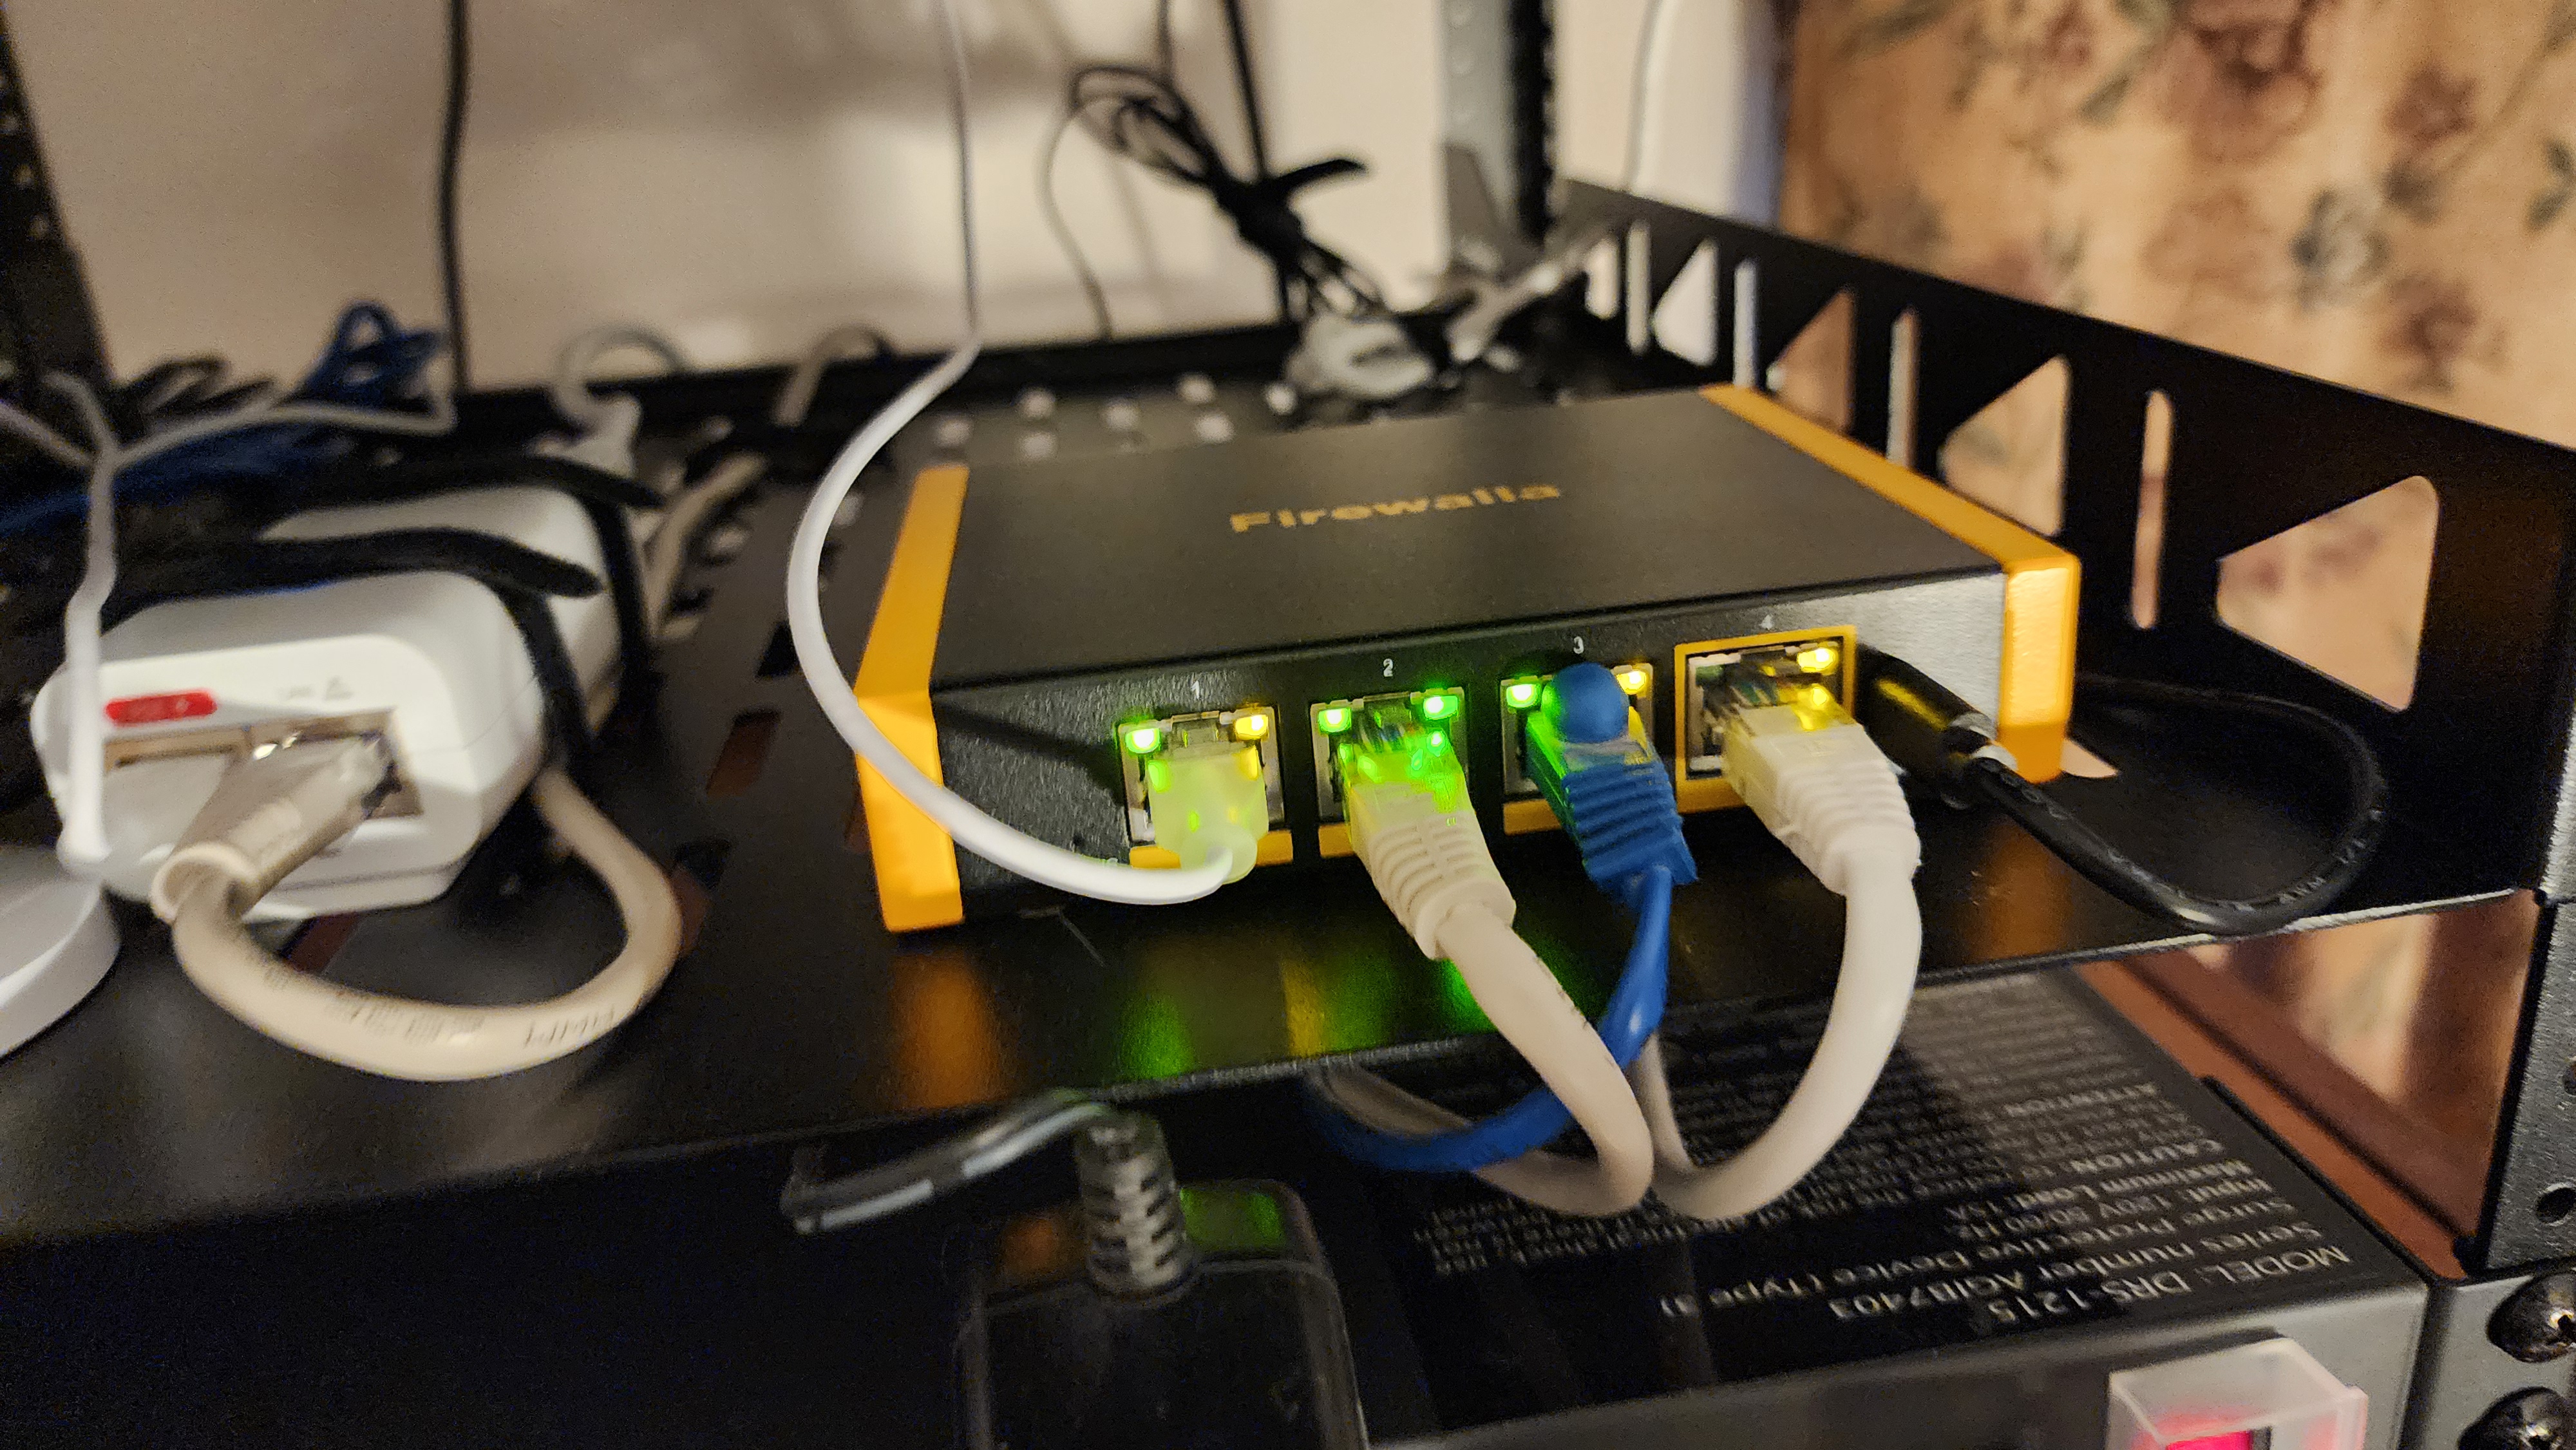
Step 3: Firewalla Gold SE Setup
- Connecting to the Modem: An Ethernet cable from the Netgear CM600 modem’s LAN port to the WAN port on the Firewalla.
- Router Mode: The Firewalla wizard walked me through basic setup. It now handles DHCP and NAT, so everything on my network gets IP addresses from it, not the old router.
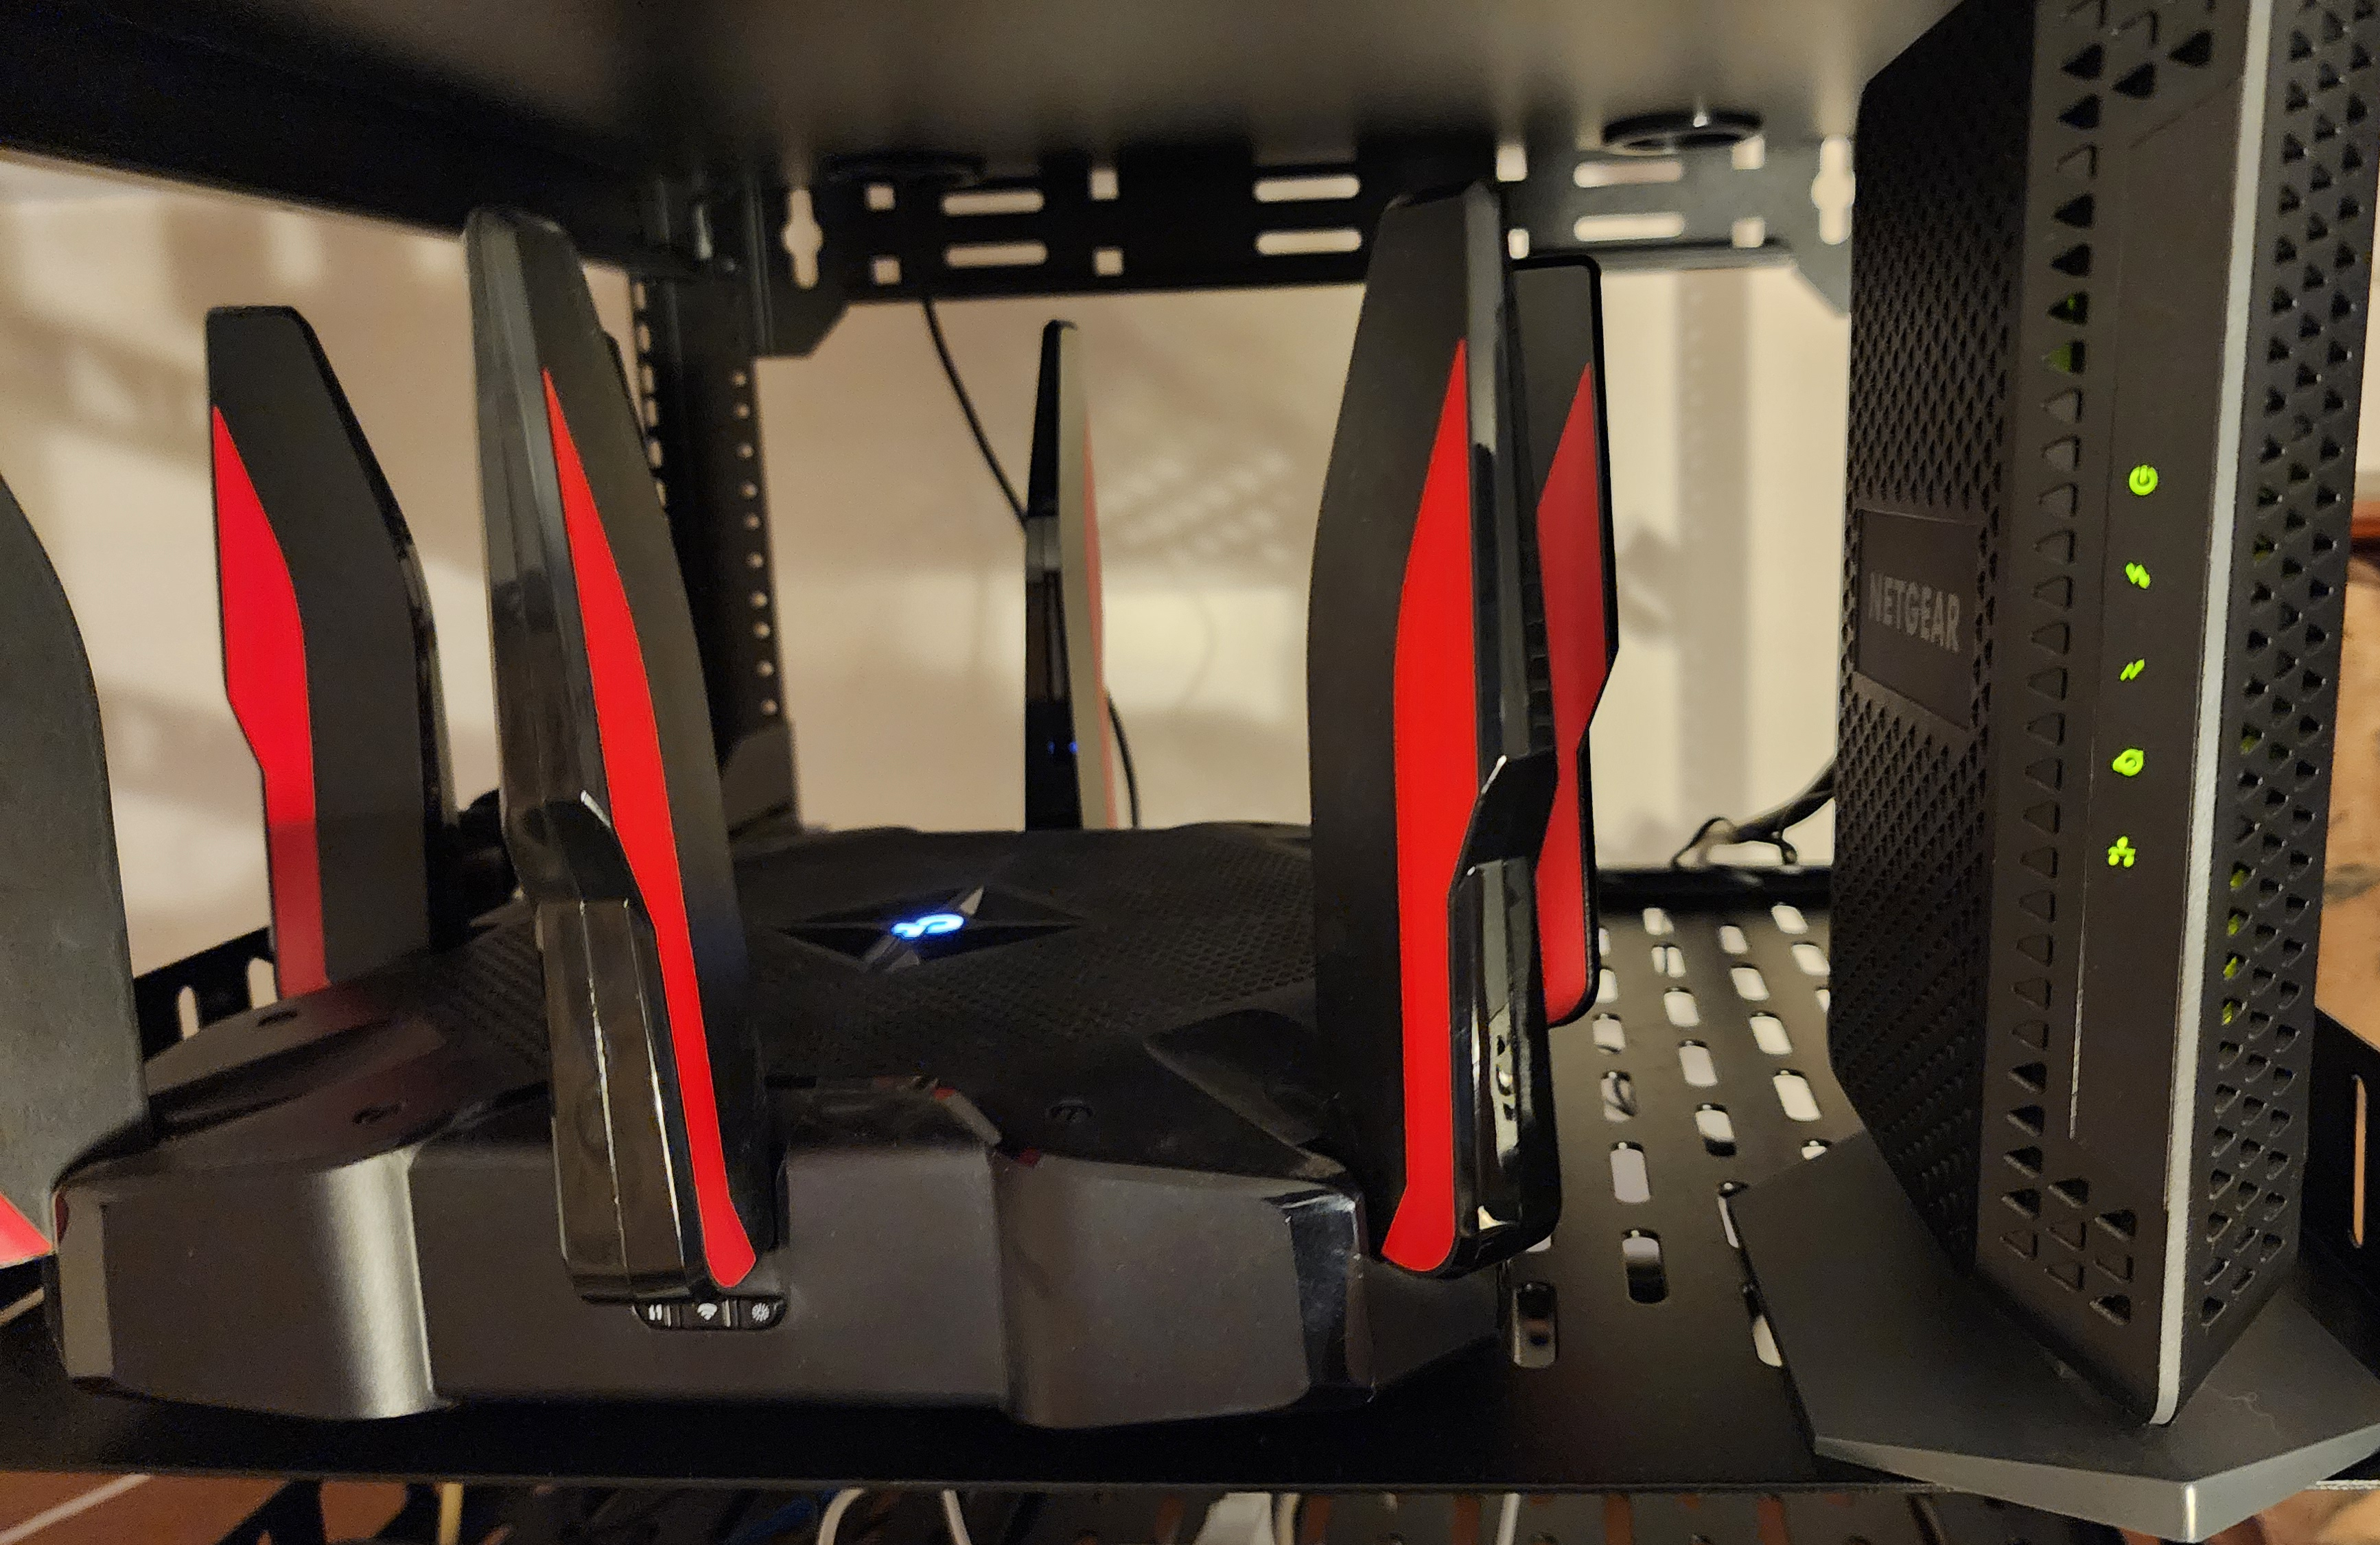
- Placing It in the Rack: The Firewalla is a small device, so it sits easily on one of the included shelves.
Step 4: Converting the TP-Link AX11000 to an AP
- AP Mode: I disabled DHCP/NAT on the AX11000 so it’s merely passing Wi-Fi traffic to Firewalla.
- Disabling 2.4 GHz (Optional): I wanted the Ubiquiti to handle 2.4 GHz for IoT.
- Keeping 5 GHz: My phones, laptops, and other high-speed devices stay on the AX11000’s 5 GHz band.
Step 5: Setting Up the Ubiquiti UniFi AC Pro
- Mount or Place: You can ceiling-mount the AC Pro, but I just placed mine on a high shelf for now. Powered by the included PoE injector.
- Standalone Mode: Used the UniFi Network mobile app to get the AP adopted and set up. (A UniFi Controller works, too, if you have one.)
- IoT 2.4 GHz SSID: Created a dedicated SSID for my 2.4 GHz gadgets. Reconnected all the Blink cameras, Ring devices, and other Wi-Fi gear. No more congestion issues!
Verifying & Fine-Tuning
- Firewalla Dashboard: I can see each device connected, check data usage, and set parental controls or alerts if needed.
- Performance Tests: My phones on 5 GHz zip along smoothly, while the IoT devices are stable on the AC Pro’s 2.4 GHz.
- Rack Organization: Everything is contained inside the 12U rack—one neat power solution, no more cable chaos.
What About VLANs?
I’ve learned that VLANs are a powerful way to isolate IoT gadgets from personal devices, but it does require some extra setup:
- Firewalla: You can create VLANs (e.g., VLAN 20 for IoT) and assign them to specific ports.
- Ubiquiti AC Pro: It supports VLAN tagging on SSIDs.
- Why Bother? Extra security! If an IoT device gets hacked, it’s better contained. But you have to configure firewall rules and possibly mDNS if you want certain devices discoverable from other VLANs.
I’m still working on configuring VLANs, but even without them, splitting the 2.4 GHz and 5 GHz bands has already made a world of difference.
A New (Potentially Addictive) Hobby
Here’s the funny thing: Once I started reading about UniFi products on Reddit, I realized this can be more than just a simple network fix—it can become a whole new hobby. People rack up multiple UniFi switches, add fancy PoE-powered cameras, and go down the rabbit hole of fine-tuning VLANs, captive portals, and remote VPNs. It’s like a techie playground where there’s always something new to try.
- A Slippery Slope: “I’ll just get one AP” can turn into “Maybe I need a Cloud Key… and a PoE switch… and a Dream Machine…”
- Why I’m Doing It: Honestly, it’s exciting to learn how everything works behind the scenes, and to customize things exactly how I want. Plus, there’s a real sense of accomplishment when it all comes together.
So if you find yourself eyeing more gear or reading about advanced setups, don’t worry—you’re not alone. It’s a deep rabbit hole, but a fun one if you enjoy tinkering!
Final Thoughts
- The Rack: The Tecmojo 12U is a high-quality open-frame rack that was straightforward to assemble using their guide. I decided not to mount it on the wall and placed it on top of my cabinet instead.
- The PDU: Installing the Tripp Lite rackmount surge protector was the perfect solution to keep everything neat. One cord to the wall, plenty of outlets with surge protection.
- The Network Gear: Firewalla Gold SE + Ubiquiti AC Pro + (repurposed) AX11000 is a major upgrade over a single all-in-one router. I can see what’s happening on my network, block suspicious domains, and keep my IoT devices separate from my main devices.
Next Steps? I’ll be fine-tuning VLAN configurations for true isolation. But even now, my cameras and doorbells stay connected, and my phones and laptops stay fast on 5 GHz. If you’re looking for a home network upgrade—especially if you’re dealing with lots of IoT devices—this setup is worth considering. Just be prepared that once you open the door to UniFi (and Firewalla’s capabilities), you might catch the “home network bug” and find yourself adding more gear than you ever thought you’d need!


Leave a comment